Showing posts with label black and white. Show all posts

Tuesday, 3 June 2025

Cobbled Nines - Part II


I sometimes wonder why I take such a long time to get my quilts quilted and finished.  This black and white beauty was made into a quilt top waaaayy back in 2014, as you can read in this blog post.  

It is probably one of my most favourite quilts of all time, made up from 'orphan' blocks where I co-ordinated the colours and went for a two-tone look.  It was also part of my black and white series.

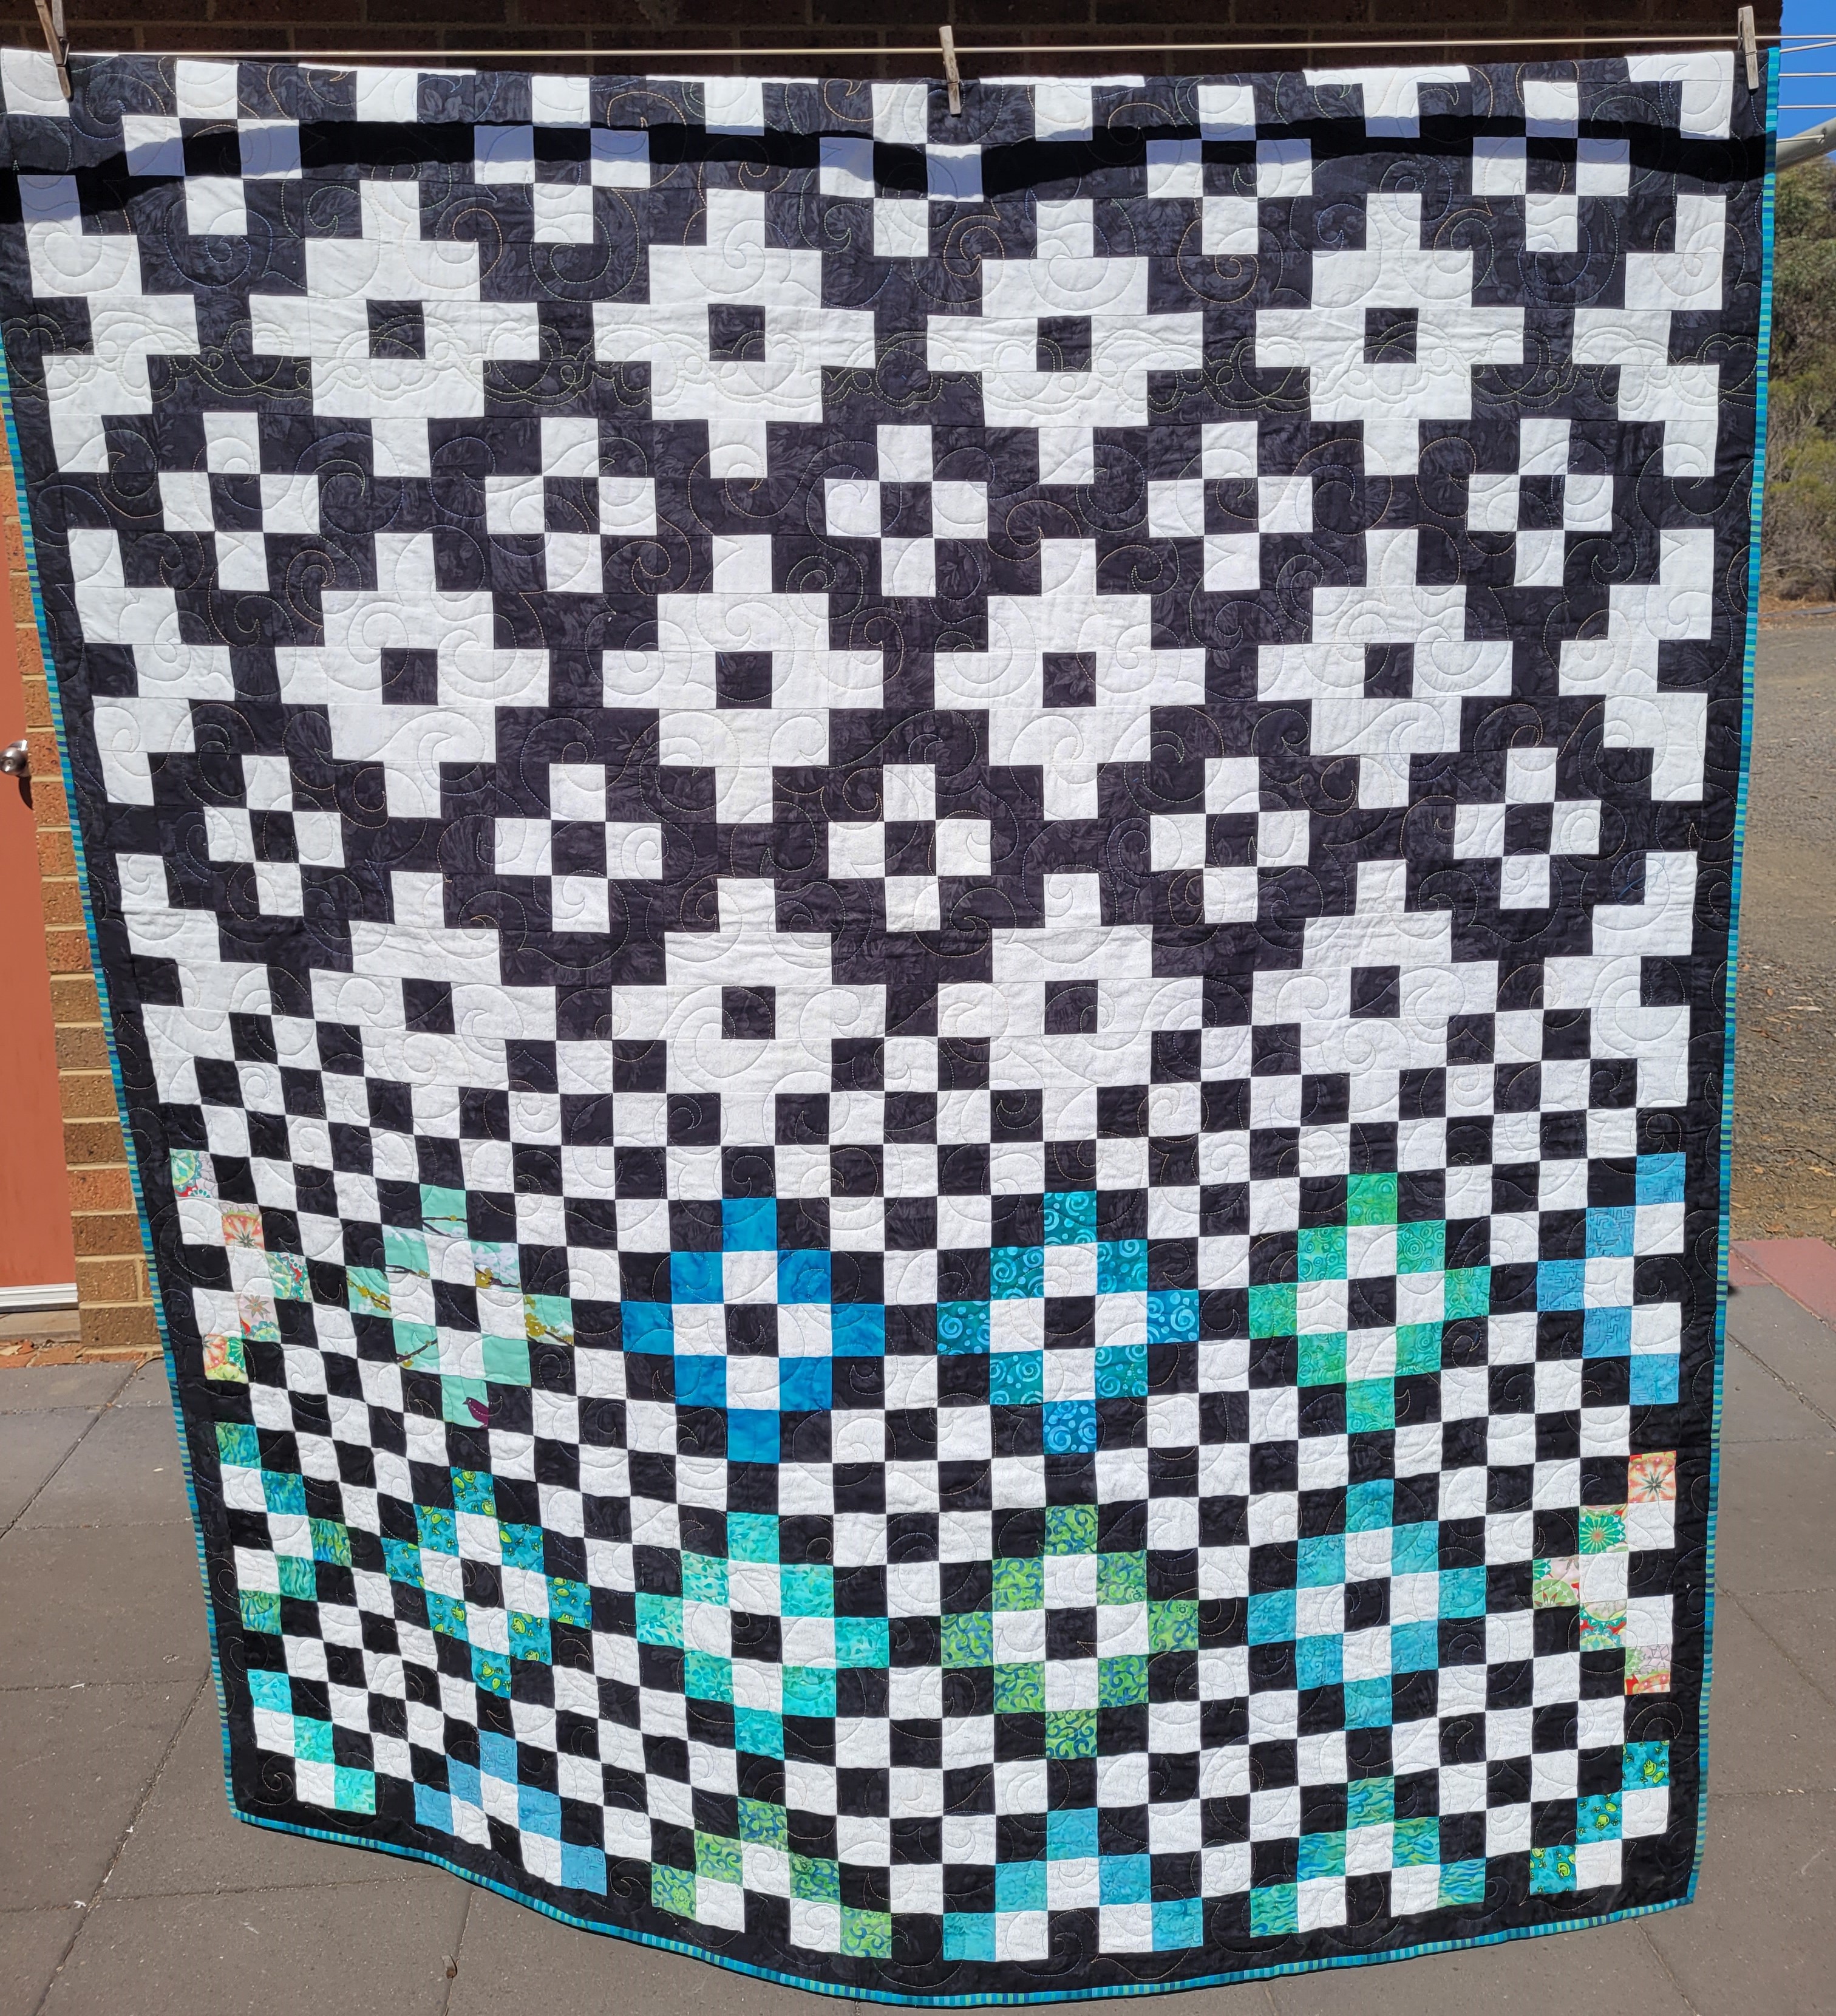
Cobbled Nines - perhaps I should have had a different angle for the photo
- there's the shadow of a tree going across it! :)


The photo below is from my original blog post when I had just put the top together.


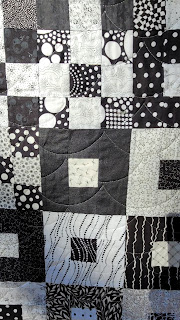
Below are some detail shots - I really, really should have thought about the shadows!  Two detail shots and one of the backing fabric which has some very cute deer on it.


I quilted cobbled nines with a metallic silver thread, using a clamshell design on my domestic sewing machine.  There were a couple issued with thread breaking, until I remembered to adjust my top thread tension on my machine - oh what a difference that made!  

Cobbled Nines was donated to "Gather the Girls" as one of their silent auction items and it raised $280.  I would have liked to have seen it go for $375, as that was the set reserve price, however, the lady who won it is very happy.

My second quilt that I donated to Gather the Girls is Spring Splash.  Upon re-reading my post about Spring Splash, I had completely forgotten that I was going to donate it to a different cause!  So, here I am now, donating it to another very worthy cause.


Saturday, 25 March 2023

21 and Black & White #2

Another black and white quilt.  Another 21st.  This is the first of 2 quilts for twins who turned 21 a few weeks ago.  A great use of stash with left over pieces from several quilts in the colours and two pieces of good quality left over wide backs - ie:  the black and white fabrics.


I spent a whole day cutting out and carefully labelling the pieces for the each of the blocks.  While it looks simple, the placement of the black, white and colours did get a bit confusing at times. 

I took this quilt away on retreat last year to get the bulk of the sewing done and, with some help from my un-picker when I mixed things up,  I successfully completed the quilt top at the retreat.  I added a small narrow border of the black around the quilt top, just to keep the many seams at the edge of the quilt secure and to provide a small break between the piecing and the striped binding.


Yes, it does seem to play tricks on the eyes a little bit with all of the movement across the quilt top.  I really liked making this quilt top, even if the placement of the black and white through the centre with the merging of the blocks got confusing up close.

So bright in the sunlight!  These photos were snapped in the morning on the day of the twins 21st and the wind was picking up.


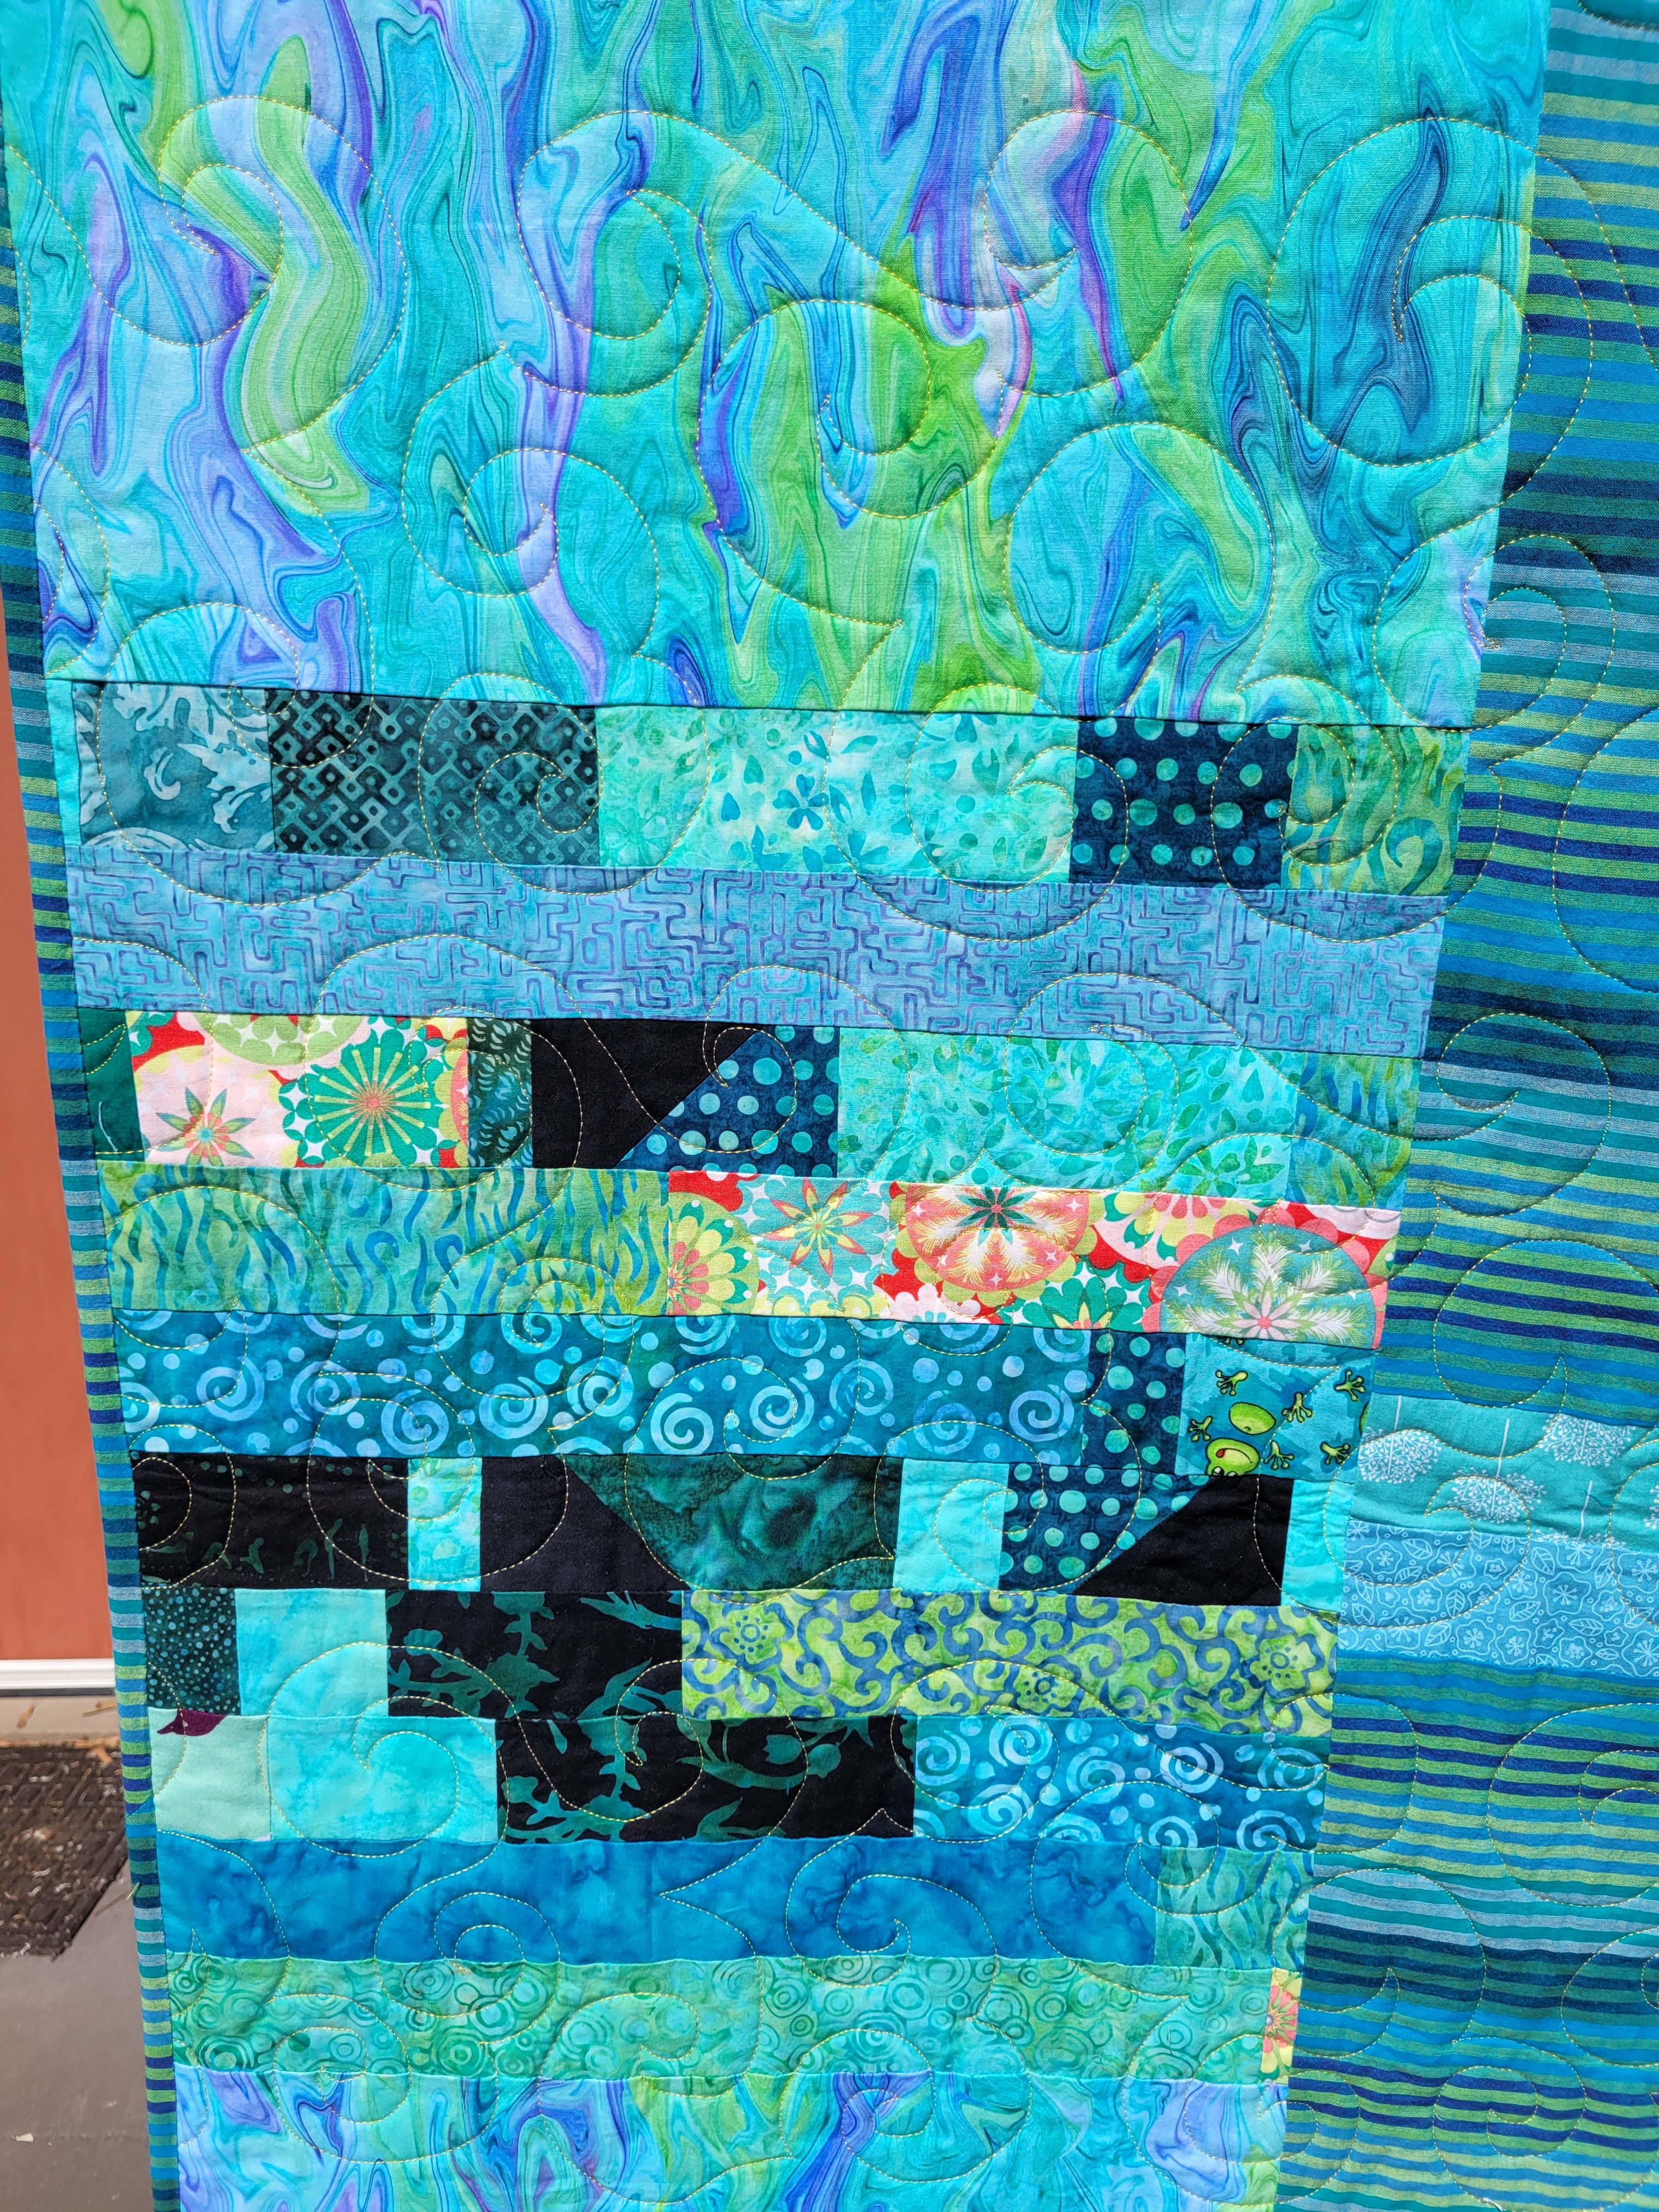
I used a woven Kaffe Fasset stripe for the binding because it had the perfect colours.  The backing has a large panel of the binding stripe fabric and all the little left over pieces, plus some extras were used to make a pieced panel.


Domestic machine quilting with a swirl and a row of tumbling hearts/leaves.  I used a Raiman variegated thread for the front of the quilt and a Superior Threads gold for the back.  Love, love this look, especially the gold on the back.


And, finally, here is the completed top in all of its sunlit glory.  


Because this particular M is studying to be an Environmental Engineer and is passionate about the world around him, this is what I wrote on his quilt label....

A conundrum, what to do with the environment?  This quilt represents the finding a way between the black and white of modern materialism and the protecting of nature where the greenery will always find a place to emerge.  Knowing that you will work hard to find your way, we wish you so much love, happiness and joy as you make your path through life. 


A few days after the 21st, the twins Dad called me up to say thank you.  He said the whole family was 'blown away' by the boys quilt gifts and that M almost cried when he read the label.

I've also had a phone call from their Mum expressing both her and their gratitude.

This family is very special to us.  We used to live in the same street and have remained firm friends for two decades now, despite our many house moves over the years.  The quilt for twin #2 is next week's post. ;) 


Gifted in February 2023.
Finished quilt size:  66in x 84in (158cm x 203cm).  

The pattern can be found here.


Saturday, 18 March 2023

21 and Black & White #1

Black and White is so much fun!  This quilt has so many snippets of fabrics from other quilts that I've made over the years, plus a few extra bits thrown in from one of my friends.  There's been quite a bit of conversation among a couple of online and in person groups that I belong to about black and white with a splash of colour quilts lately, that I thought I'd share this one, which holds a special place in my heart.


I always had a particular friend of my son in mind when making this quilt top, but wasn't sure when I would give it to him, then we were invited to his 21st birthday, and voila! there was the impetus to get this one finished.  

We first met M and his mum when T and I were both in the new "Mothers Group" when M was 4 months old and my son was 3 months old, so a lot of love and memories have been stitched into this quilt.


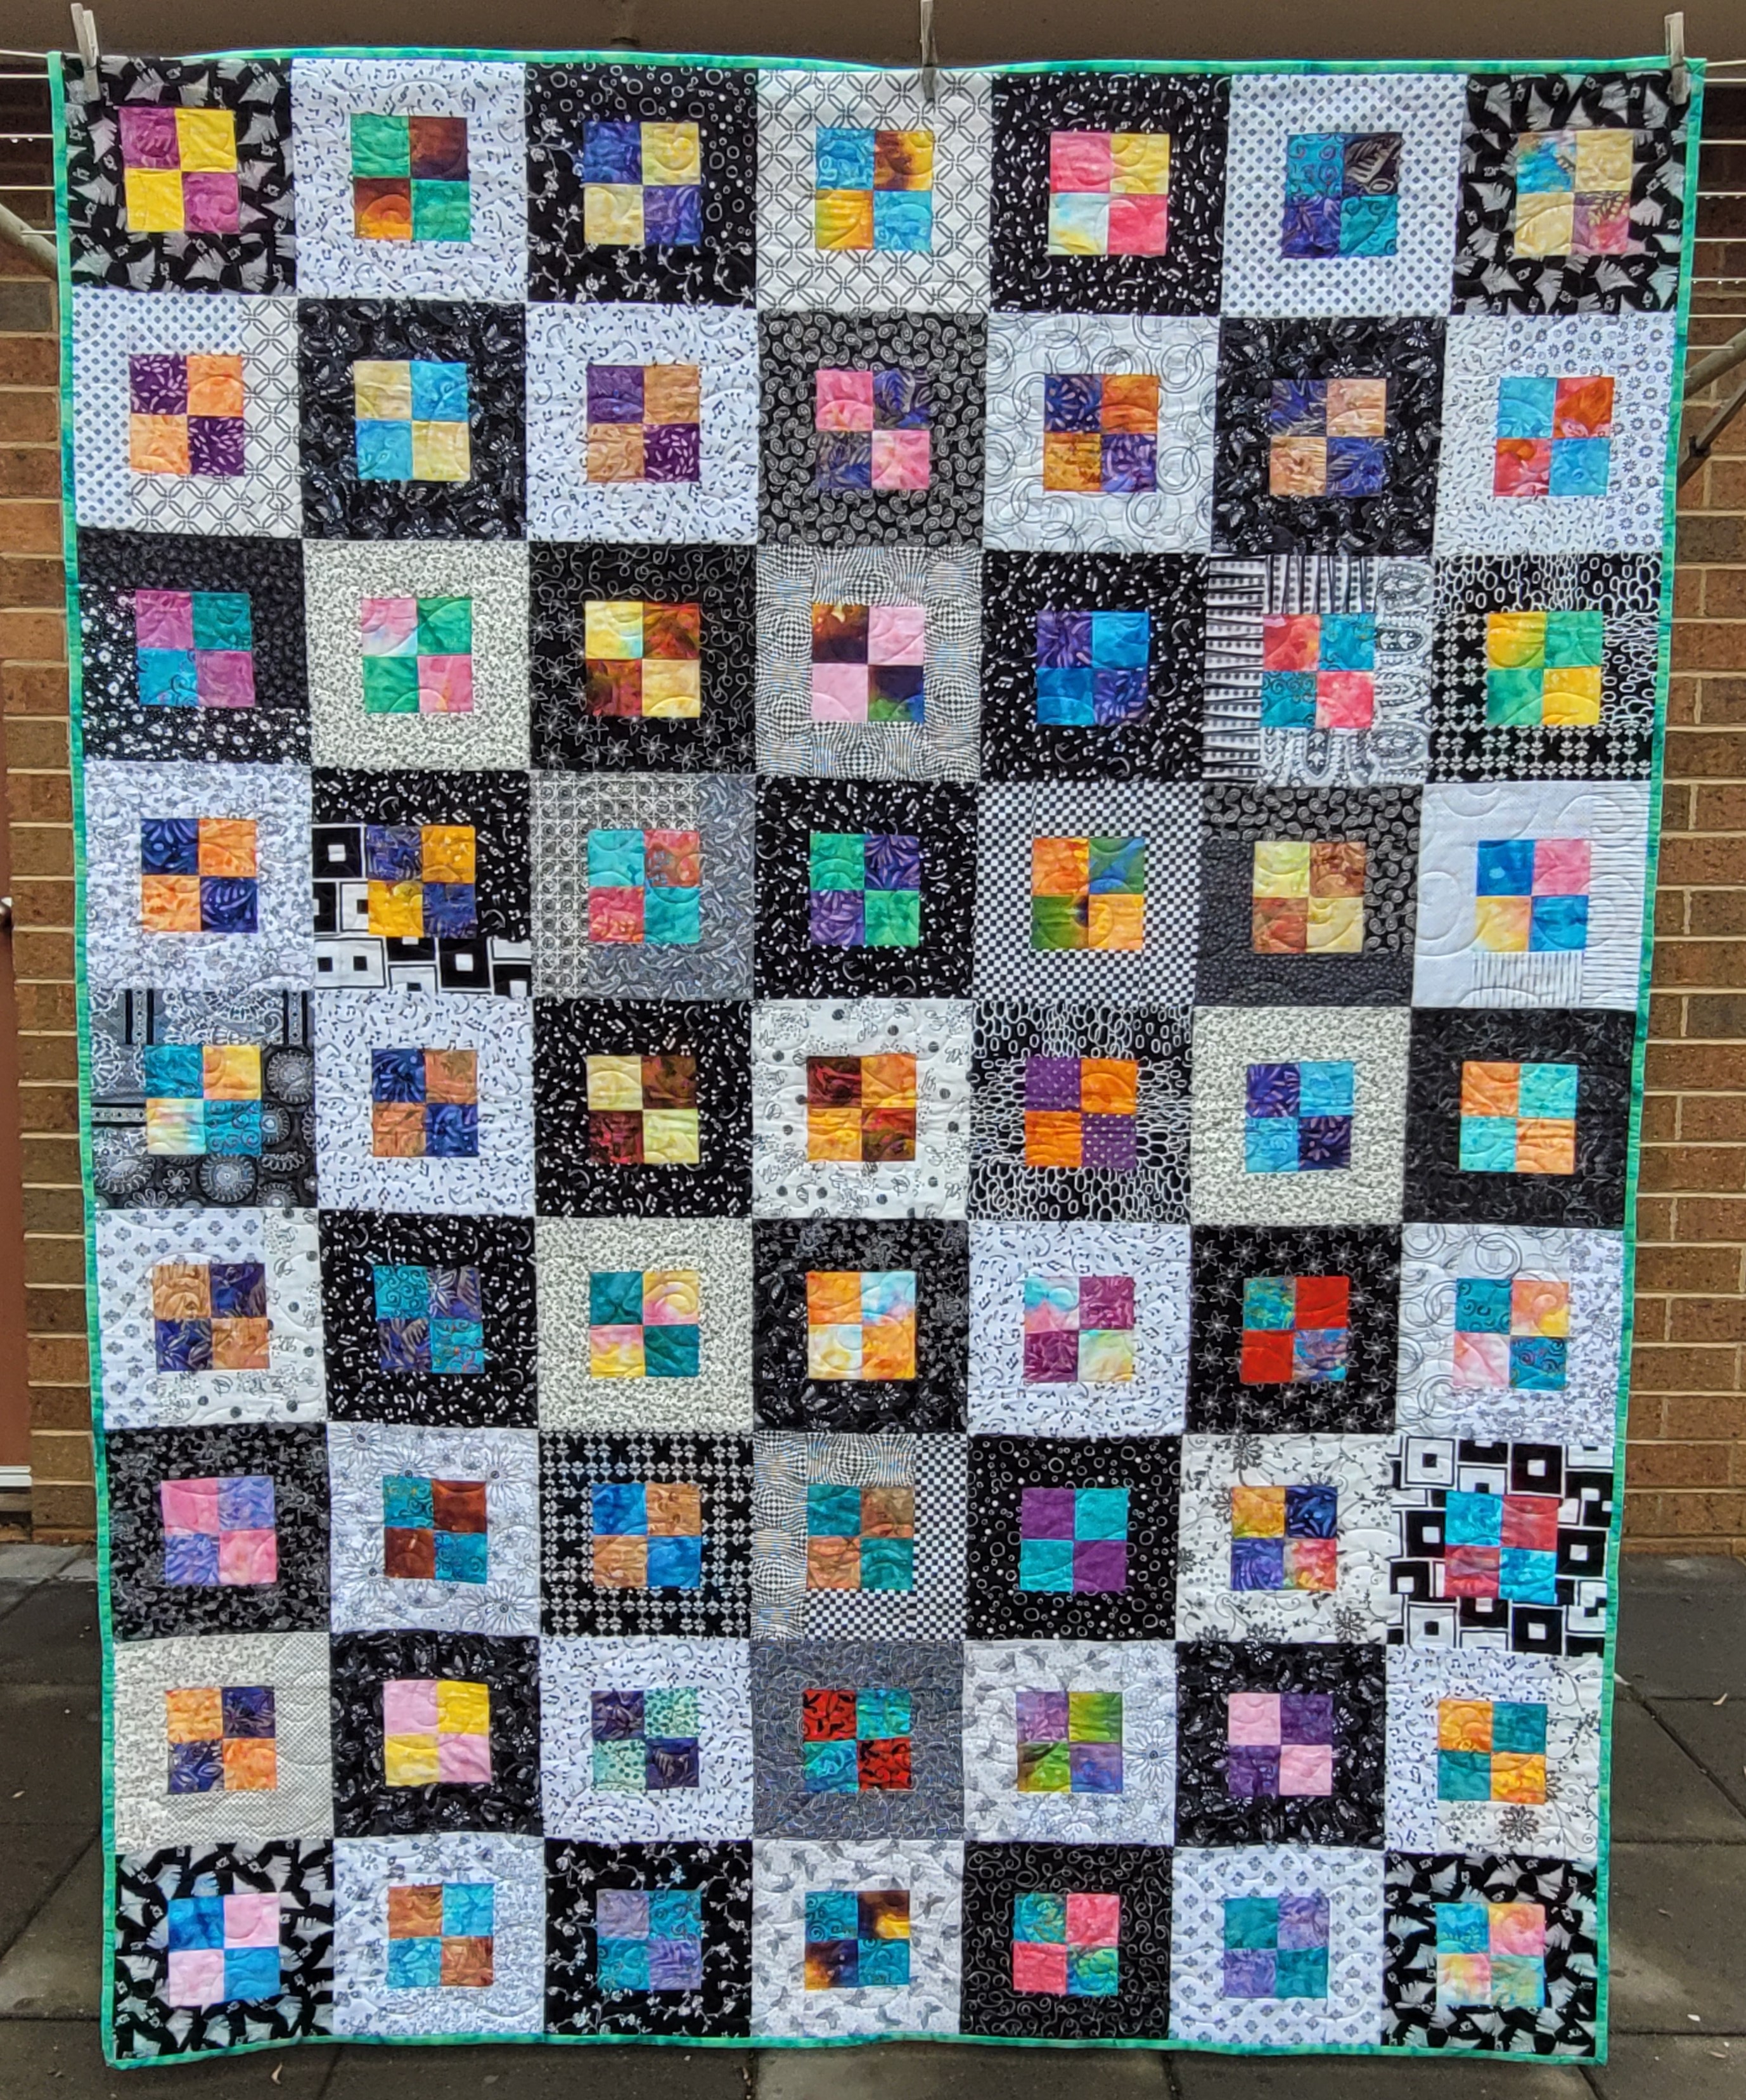
The blocks are wonderfully simple and so effective when making them, each one giving it's own "wow" factor.  When I took the photos, it was a very dull weather day, with little sun and the colours in the blocks just 'popped' with their own vibrancy.


As I was making the quilt top, I came to realise that it didn't really matter if the black and white merged slightly into grey, there was still contrast between the blocks, with the lime/avocado green binding pulling it all together.


The back is black piece of wide-back fabric with a tone-on-tone print.  I quilted this quilt with a variegated Raiman rayon thread on the front and a Madiera avocado/lime thread on the back, which looked so funky.  Unfortunately I did not get a close up of the quilting on the back.


Wrapped and ready for gifting with the label reading:  

Dear M....., may this quilt join for celebrations, commiserations and all the moments that life will throw at you.  Each time you use this quilt, our thoughts will be with you, gently guiding and supporting.
 
Finishing at 56in x 72in, it's a perfect size for a couch quilt. 

And... one last bragging moment - when M and his partner left the 21st venue, this quilt was the only gift he took home with him, leaving his mum to pack up and collect the rest of the gifts.  An act that truly melted my heart and resulted in having a happy tears hug with T.


Completed and gifted Oct 2022.
Pattern used can be found here

Monday, 11 January 2021

Easy Street

This was a big quilt and a lot of fabric!  Easy Street has been a wonderful journey of stretching myself with the use of colours.  I wouldn't normally make a quilt in this combination, but for some reason when Bonnie Hunter first shared her mystery quilt from 2012, I knew way back then that I needed to make it.

As luck would have it, I had all of the necessary fabrics in my stash, except for the green, which was purpose bought for this quilt.  


Block Set 1

The black on white prints, I had most of them left over from other quilts, and my friend Jo provided me with some extras from her stash to make sure I had enough.  

Block Set 2

There are many parts to the Easy Street Quilt and there is an absolute mountain load of cutting to be done, but each part was well stepped out and so it was easy to cut and then chain sew parts together.  One step at a time makes it super easy and not at all daunting.


Corner Setting Triangles

Even the side and corner setting triangles had lots of piecing in them.

Side Setting Triangles

I didn't start straight away on this quilt when the clues were first posted.  I collected all of the clues as they were issued because I liked the colours she was using and then when the final reveal was shown on the Quiltville blog, I fell in love with it.  I really liked the symmetry and movement in the quilt.

So much piecing in the blocks!

For the quilting, I simply quilted in the ditch along each seam line.  The patchwork was so busy that I chose keep the quilting minimal.  I quilted a cable pattern on the final border.

Backing onto front peak.

I chose a black/dark grey tone-on-tone stripe for the border and the same green as in the quilt for the binding.

The whole quilt with all of the wonderful movement showing.


 A wonderful quilt to make and one I would consider making again because I thoroughly enjoyed it!


This quilt was completed in December 2020 gifted to my nephew for Christmas 2020.

Monday, 3 December 2018

Zip-Loc Baggies, European Chic and French Braids

Oh lord, I have quite a few zip-loc baggies hanging around.  I have them in many different sizes and hold all manner of quilting, knitting and embroidery things.  A few months ago, I decided that I would just take one off the patchwork only shelf, which has started to bulge out of the cupboard...........

Shelf of 38 Zip Loc Bags!
and just work on what was in the bag until it became a finished project.  Well, here's the update on the first one.....

A kit purchased on a Retreat some years ago because I adored the fabric.  I took it out and started working on it.  Not long after, an intended recipient appeared - love these serendipitous moments.


Easy piecing.  Borders are another story.  In the instructions, there's either a typing error or there's an issue with the math.  The side setting triangles are not big enough, so the instructions tell you trim up the sides of the quilt.  This was quite tricky to do.  At this point in time, I still need to complete the borders.  They need to be pieced and cut to the correct length.

The second zip loc baggie holds a French Braid pattern.  I began this project in 2011 when the quilt shop I was working for asked me to teach the class.  Not my pattern, so I purchased the jelly roll, pattern and ruler to make it for myself before teaching it to others (and I wanted to keep the finished quilt).
The original pattern.
I took my goodies home, cut up the jelly roll strips into braid pieces, laid out the colours and started sewing.  So far, so good.  The next morning, at 7am, I received a phone call from the shop owner advising me not to go into work because the business was closing.  48 hours later - Boom. Gone.  Needless to say, I was devastated and so was my friend who owned the shop.

Fast forward 7 years and we arrive at 2 months ago and a conversation at my local quilt group about French Braids.  A beginner quilter wanted to learn how to make them.  Serendipity strikes again!  Out came my French Braids.  Some simple instructions and a sewing demonstration later, her braids are in progress, another member also got inspired and cut up her fabrics to make braids too; and mine are made.  Nothing like someone to sew with to spur you on.

My completed braids
The original setting pattern for my braids has been scrapped and I found a new layout.  The number/length of braids I have made is the perfect amount for this pattern.  No thought required to purchase the pattern.  
Original pattern + the new pattern
After visiting a couple of quilt shops and quite a bit of time, I have found the perfect fabrics for the large squares and the sashings....

Ready for the next step - cutting large pieces and assembly.

My quest for making all of the projects in the Zip Loc Baggies will take some time, but it is good to say I actually tackled one of my New Year's Resolutions to work on what I already had started or have "ingredients" for and not started.

PS:  I hope the rest of the Zip Loc Baggie quest works out as well as these two have so far......


Monday, 29 December 2014

Cobbled Nines

In 2008 I took part in block swaps of 9-patches and cobblestones. It was fun to send off your blocks and receive surprise packages in return.

In 2012, I took part in a class, 'blocks on parade', where the aim is to use up your odd blocks and pieces of fabric.  I found it hard to focus with this particular project at the time due to some other issues going on in the background, which is a shame because the Teacher on the day was nothing short of amazing with how she could put the oddest pieces together and come up with a cohesive quilt.

With everything being made from black and white, I put the three projects together into a zip-lock bag and then added a good dose of of zero inspiration, simply because I could not figure out what to do with them.  

From humble beginnings way back in 2008 and some extras being thrown in from time to time, the "pot" or rather zip-lock bag was shaken up and stirred around the sewing room a few times.  Eventually a quilt top had to come out.

Here is the result of a recent burst of creativity from the percolating zip-lock bag.  The blocks, after breaking the seal on the bag, spilled themselves out over the lounge-room floor and jumped around for a while.  When they settled down, they then demanded I sew them together, to make "Cobbled Nines".


Not quilted, but pieced "Cobbled Nines" quilt top.
Thankfully each of the projects used 6in (finished) blocks, so they all fitted together nice and snug.

The males who reside in this house love it.  The quilting buddies also like it.  And, I found a fantastic fabric for the backing in a red spot sale bin, which is washed and joined ready to go.  

The binding is already made, using left over batik fabric from when I made my knitting bag.

I've chosen a silver metallic thread for the quilting, which I think will work really well.  Using plain grey thread in any shade was just a bit too dull when I laid it/them on the quilt top.

It feels good to put 3 projects together with some extra bits and make one funky quilt out of it all.  

Monday, 29 September 2014

Funky 1600 JR Quilt

For quite some time I had been wanting to make a 1600 Jelly Roll quilt to find out what people on Yahoo groups were talking about.  Gosh, who knew that making a 1600 JR quilt could be so addictive?  I think I could make one in every colour way in my stash, if I had enough colours of each that is.

Now, the JR 1600 quilt instructions can be found here.  These very generous people at Heirloom Creations are happy for others to use their idea as long as you give credit - which is more than fair in my book.

I made my own 'jelly roll' from my stash of black/white/grey.  I had so many bits of these colours, that I just chopped them up one afternoon into appropriate lengths.  That night I made the quilt top - how fast does a JR 1600 go together?  Inside 3.5 hours with getting dinner for the family in the middle of that and pressing the seams!  WOW!

When I had sewn my black/white/grey fabrics together, which looked fabulous on the sewing table when in strips, I thought err, boring, dull, lifeless.  Off to visit my good friend, the internet and search some images to try and liven up this extremely boring quilt top.  I found the answer to my prayers here.  I wrote to Corina of cwquilts and she very kindly gave me permission to use her idea with credit applied at the time of posting to my blog.

My version of the 1600 JR Quilt:

In making this quilt, not only did I have fun, but I was once again reminded of the wonderful generosity of Quilters all over the world who are not frightened of sharing what they know with strangers.  I am indebted to Heirloom Creations and C W Quilts for giving me some sewing pleasure.