Showing posts with label Birthdays. Show all posts

Sunday, 6 April 2025

Green Coffee Cobblestones

My Fifth finish for the year – this was from my completed tops/backings/bindings pile.  I had completed the quilt top and prepared the backing and binding back in 2023.  This was originally an UFO from 2007/8 era and made with swapped 'cobblestone' blocks.

At the time I decided to embark on this plan, I had made a cutting and sewing error.  The error that I had made in cutting the blocks into quarters and adding the narrow sashing strip/cornerstone always seemed to so big in my mind; but in 2023 when I pulled it out to tackle it, the error wasn't that big at all.  In fact, after a few minutes of careful thinking and looking at my mistake, I was able come up with a plan to repair the error quite easily and then went on to complete the quilt top, prepare the backing and make a binding.  


And then it sat as a lovely bundle for another 2 years, until February this year when DH saw me starting to quilt it.  He loved it because it is his mother's favourite colours and he immediately asked me if he could have this quilt for his mother's 85th birthday gift on March 10th.


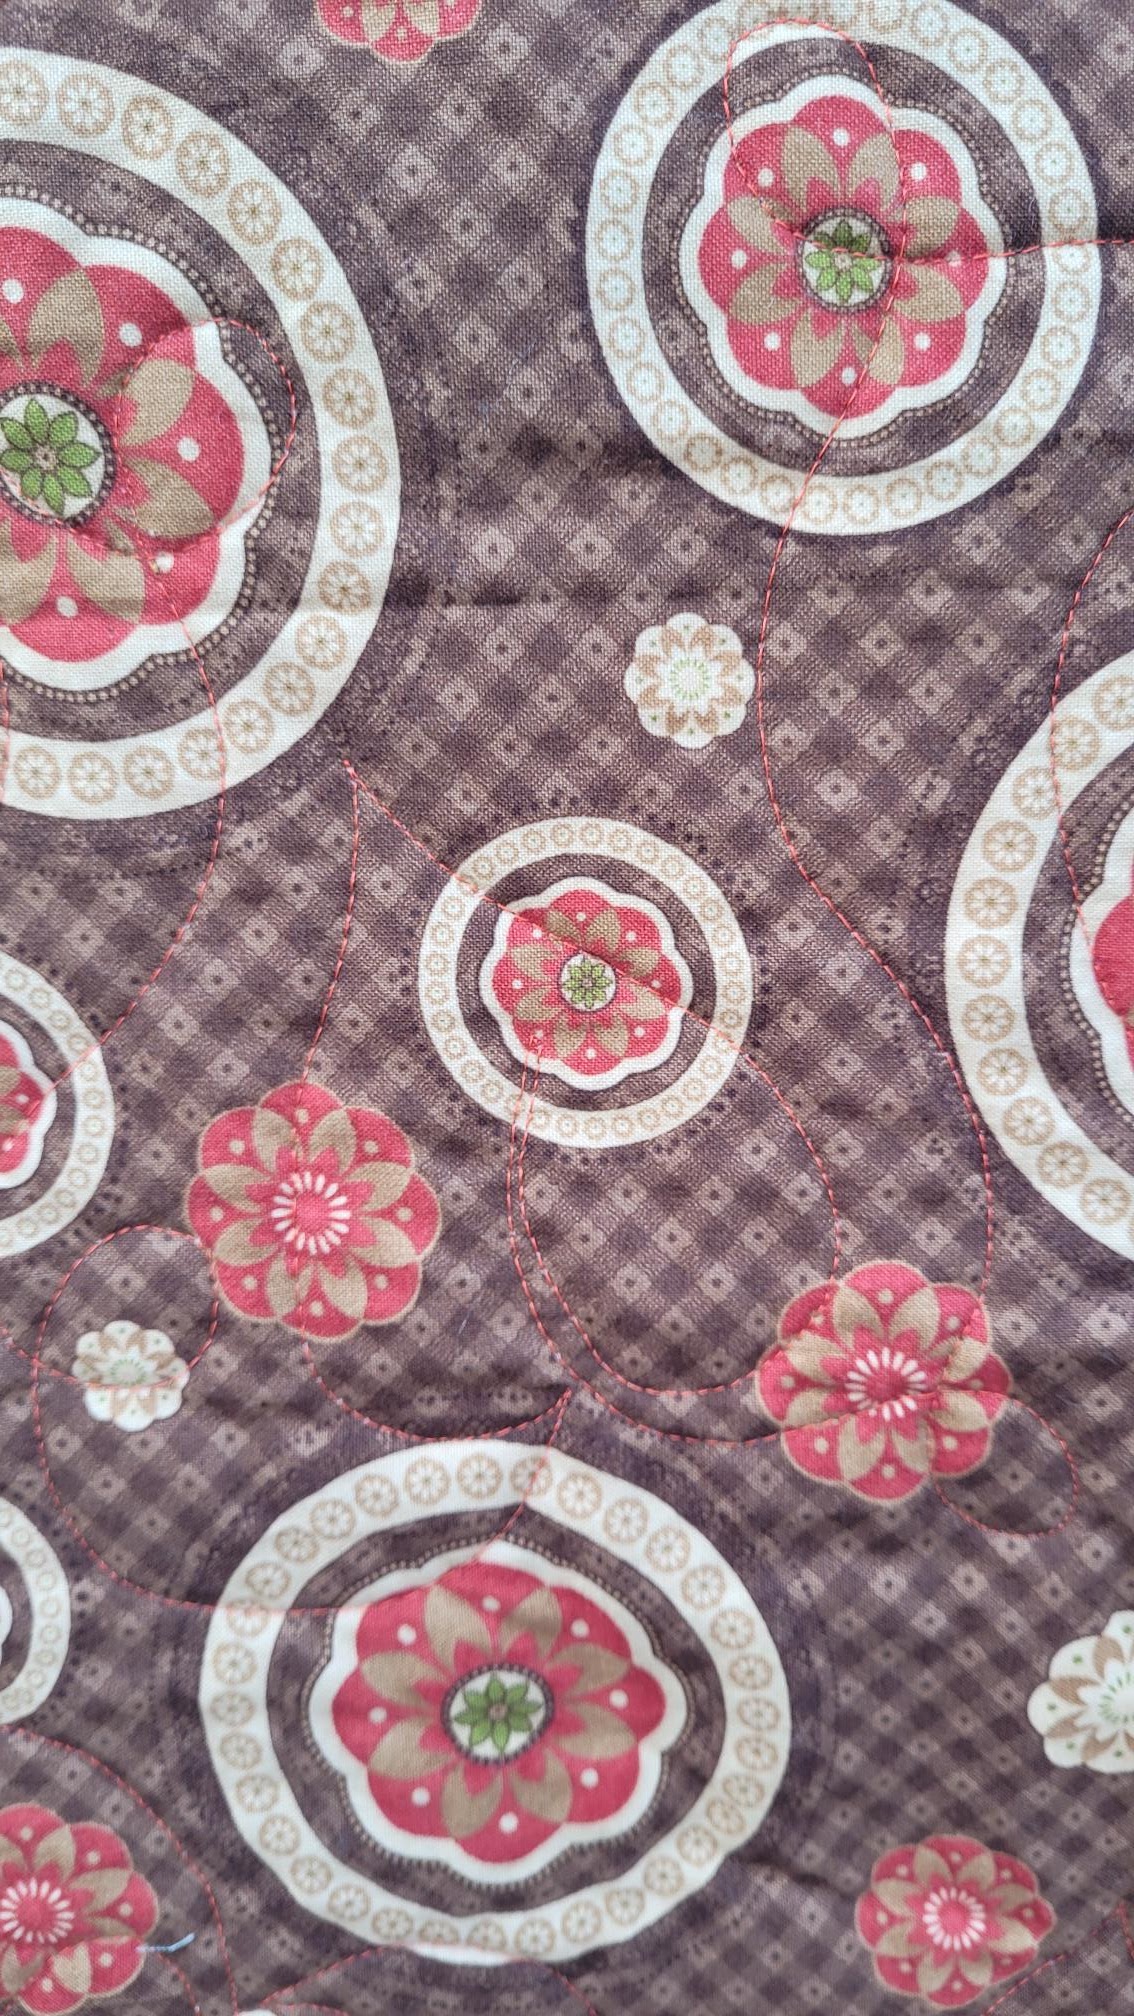
In the two photos above, I was trying to show the quilting.  I used a variegated yellow/taupe on the top and a burnt orange on the back - both 50wt cotton threads.  I am so happy with how my DSM quilting turned out on this one.  A very happy finish indeed.

I had been hoping for a photo of my mother-in-law with the quilt, which has caused my delay in sharing this finish, but sadly, that has not happened.  However, I can report with delight that she loves the quilt and is very happy.  (I was unable to make it to her birthday lunch).  DH is also very happy because they had a wonderful day together.


The quilt back.

A few days after the birthday celebrations, MIL wrote me a beautiful text message, saying thank-you.  She was also very happy that her 3 sons and 5 out of 6 grandchildren could be there with her to celebrate her milestone.  They were able to take her out of the nursing home and into the bush [forest] for a proper birthday picnic lunch.

The quilt label - written by DH.

I don't normally share the quilt labels, but this was so special and heartfelt by DH, that I felt I needed to share.

The completed quilt.


Details:
Green Coffee Cobblestones
Size:       46in x 52in 
Quilted:  by me on my DSM
Yardage: 6m or 6.6yds total
Pattern:   is my own design.

Thursday, 28 May 2020

African Animals at Sunset

This has been a long time coming!  I had the idea in 2014 to make my uncle an African quilt in time for his retirement and 65th birthday.  My mother's family was from Africa.  I purchased the black fabrics and a background way back then.  I did not like the original background and so the project got shelved.

During 2019, I pulled out this long neglected project because my uncle's 70th birthday was approaching in 2020 - and we all know how quickly time passes.  😉

I used  evenings to trace the shapes onto fusible webbing and cut out the fabric silhouettes.  I was still unhappy with the background and the project got put away in December.  Early in January, I spied a new range "sky" ombre of fabrics in a local shop window.  BINGO!!!  I had finally found the right background.

Background fabric.
Relief.  Suddenly I could see my way forward to getting this quilt made with the vision in my mind.
Sun is inset into background.
I used a dinner plate to trace a circle on gold lamé fabric to make the sun.  I then, very, very carefully cut around the cloud pattern on the fabric and inset the sun.  Once fused in place, I appliqued around the edge of the sun and clouds with rayon threads and machine blanket stitch.  I did not want that sun to move.

Animals and tree being placed.  Not yet sewn on.
My 15yr old son arranged the animals.  The men in this house liked the bright background and the silhouettes of the tree and animals.  I think they might want a quilt like this for us.  It turned into a family affair with Mr 18 and Hubby having a say too.

The animals and tree were stitched around with a very dark navy rayon thread and a very small machine blanket stitch.

Sun detail.
I did not quilt the sun, but I did quilt sun rays and followed the pattern in the fabric to give the illusion of clouds.

Giraffes against the sky.
The quilting in the lower half of the quilt was a wavy design to represent shifting sands.  I changed the thread colours as I moved down to the darker parts of the quilt.

Rhinoceros  
I love how the backing shows up the quilting design as well.

Backing onto front.
On the Saturday before my Uncle's birthday, I got the last stitch in the label and made it to the local post office/general store right before closing. And... in  a stroke of good luck, the parcel arrived 4 days later on the actual day of his 70th birthday.  I could not have planned better.

A final photo before posting.

Uncle Ian holding up his new quilt which
arrived via post on the day of his 70th Birthday.
I am so pleased that I decided to go ahead and make this quilt.  Once I got the ball rolling, it came together easily and was a complete delight to work on.  He called me after receiving the parcel and was almost in tears with joy.  My heart is very full of love.


--------
NB:  For the applique shapes, I used this pattern.


Wednesday, 20 May 2020

Charm Squares and Flowers

Preparing a new project to take away on Retreat, when you have someone special in mind is always fun.  Using gifted charm squares - 4 x 20 piece packs - plus an idea to have some appliqued flowers scattered through the quilt to add interest certainly got me eager to start.  And.. with 11 months until the intended birthday that I was making this quilt for, I thought I had plenty of time!

Fabric Selection.  In the end, the light green fabric was left out.

Before the Retreat, I fussy cut the applique flowers from the red fabric so that the little white flower in the print made a nice centre.
Fussy cut flower.

I then fused the flowers to their backgrounds and appliqued them with a very small machine blanket stitch at my local Friday Bee.  They were very happy little blocks to stitch.
Flowers fused but not yet sewn.

 All cut out and ready to go on Retreat.  The applique blocks are in the bottom of the container.  So easy to chain sew while chatting to others. 


First order of the day was to sew all of the short sashing strips to the sides of the squares before joining them into rows.  90 blocks in all.


The laying out of the blocks and getting the colour balance right took me quite a long time.  The yellow squares were quite a bit brighter than the other fabrics in the pack and they needed to be balanced throughout the quilt.  Also, while laying out a quilt on Retreat, everyone has an opinion and it made for some fun conversations.  😄  I always find it fascinating how other people perceive colour and placement.

Backing and binding onto front.

I finished this quilt off with simple in the ditch quilting so that it would stay nice and soft for snuggling under with a good book.  The binding is a teal batik which matched perfectly.

The finished product!
56in wide x 62in high (142cm x 158cm)

I completed this quilt in time for my niece for her 11th birthday.  A good size for her to grow into teenage years with.  And.... she loved it upon opening, as did my sister (her mum).   


Note:  While there is nothing new about sashing charm squares to make a quilt and I have done this many, many times before and taught others, I did use the free template from here for my flowers.  The flower template is half-way down the page. 

Wednesday, 11 March 2020

Cakes for 80 years!

Last weekend my MIL turned 80.  Lots of celebrating to be had.  First up on the agenda was the important issue of cake.  Cake is very important, especially when there is going to be more than one gathering of people over a couple of days.

First up was a family dinner on Saturday night.
"German" Apple Cake
The first cake was "German Apple Cake".  The recipe came from my husband's Grandmother's handwritten notebook that she wrote recipes into.  Her handwriting was beautiful cursive script, written in ink.  From what I can find out, I think the recipe is circa 1930.   Inside was a gorgeous concoction of fresh apple, cinnamon and sugar all layered in a type of shortcake batter.

The second cake, for show as well as taste and needed to feed 50 people was a delicious "Lemon and Coconut Cake" from a book that I purchased 19 years ago.  It's one I've made a few times in the past, so it was easy to double up and make it bigger.
Lemon and Coconut Cake.
Consisting of a large lemon/coconut sponge, sandwiched with freshly made lemon curd and finished off with lemon buttercream and shredded coconut - I will brag and say it was truly a taste sensation!  Yum, yum, yum!!


Monday, 24 February 2020

Diligently sewing ...

I've got 3 projects on the go at the moment, and it's leading to lots of productivity but also lots of mess!

New York Beauty blocks.  I was working on this one and making great progress, but kept on feeling that some of the colour and scale of print balance in the fabrics was not quite right.  After a few days of contemplation,  I ordered some more fabric to even out the patterns in the 'fill in" squares.  The fabric arrived last Thursday and it's provided the look I was after.  I am not sure if I will get back to that this week coming or not.
A sneak peak of one of the blocks.
Until I started this project, I had completely forgotten how much I enjoy foundation piecing  I am loving the use of some really old fabrics being combined with brand new fabrics to come up with something that is very unique.


Modern Quilt  I am in the process of putting the quilt top together.  I pulled it out to complete the blocks while waiting for the fabric for the New York Beauty to arrive.  I completed all of the blocks and was merrily cutting and sashing away until I realised that I had cut ALL of the long sashings too short by 1in.  In the moment of realisation of my error, I may have said some unladylike words.  Because I am intending to exhibit my modern quilt later in the year, I am being particularly fussy with things being 'just right'.  Off to the quilt shop this morning and I was able to purchase more of the same fabric so that I can re-cut those sashing strips. 

Here's the made up blocks, ready for assembly into the quilt top.
***  I'm sorry, but I cannot share any photos of this quilt until after it has been exhibited - those are rules from the entry conditions.


Specky Stars is a local quilt shop pattern for using up a jelly roll or scraps.  It was a workshop we had on 17/05/2019 at  the Friday group I attend.  The class was the day I turned 50, so I was an absolutely hopeless class participant because not only was I doubting my fabric choices, I was far too excited at the prospect of being flown to an island later that day for the weekend to celebrate.

Partial blocks.  I'm assembling them 'log cabin' style and
adding the same strip to each block for easy chain piecing.
During January, I decided to rip (unpick) all of the parts I had sewn - same error in every block -  and then I cut all block parts for the entire quilt and put them in labelled ziploc baggies.  Since then I have been working diligently on that project each Friday at quilting bee and have 2 sides left to sew on each of the required 48 blocks.   I have pressed the parts and trimmed the flipped triangles on the remaining parts ready for next Friday.   I hope on 28/02 to have all of the blocks completed.


Of course, all of this work means that my sewing room has become very, very untidy.  It's time to go in there and put some things away.  My goal is to be able to quilt one of these quilts next week, and that takes up space for basting.  Plus all things need to be cleared off the sewing table so that I don't  end up with stray bits of fabric attached to back of the quilt accidentally!


Monday, 3 June 2019

Purple Floral

Started in a mystery quilt workshop, run by a member of my local quilt group, we were instructed to "not purchase fabric".  The requirement was to only use what is in your stash and to make it scrappy.  Well, I had no bits of scraps of any sort at that stage, having recently used them up, but, I did have big pieces and a few of them.

Backing onto front.
The lady running the workshop was concerned that with just 3 fabrics and not much variety that it might not work.  I think, had the purple floral been a tone-on-tone, it might not have.  There is so much variety in the print of the purple fabric, that it carries the pattern well.

Centre of quilt detail
We were instructed to pre-cut our fabrics before the workshop so that we could sew like the wind when there.  Each little zip-loc baggie had to be labelled so that we didn't get mixed up when the instructions were given out during the day.

Border detail
 Finished off with a french braid border, to which I added a 9-patch blocks to the corners.

I quilted Purple Floral on my domestic machine with clamshells over the centre of the quilt in a dusky purple 50wt thread, echo straight line quilting in the first border with brick red thread and then beads in the squares of the french braid with matching thread.

Back of quilt showing detail of the quilting.
I had great joy in completing this quilt this past week because I was able to complete it for my best friend from primary school for her 50th birthday.

I love the serendipity of how project completion often has someone who will be perfect for the item just appear.

Completed quilt.
 A really terrific pattern with dramatic effect.  Rectangles and squares, all flipped and turned to provide movement in the quilt top. 
Wrapped and ready for gifting.
Finishing at 161cm x 188cm (63in x 74in), Purple Floral was a rotary cutting and machine piecing dream to make.  Each piece just fitted together.  Lots of joy in both making and giving.

Tuesday, 17 April 2018

Happy Japanese

When I started making Happy Japanese, I have to admit that I was completely clueless as to what to do.  My good friend, H, was turning 60.  She rang me in September lasted year and mentioned her significant birthday.  I knew I wanted to make something for her, but was struggling as to what when she said she liked red and black in a Japanese style.

After some ruminating and sighing, I happened to glance at the fruit bowl, which was a gift from her some 8 years ago and was the perfect scheme for what she told me she liked.  Good grief, the right choices were there, under my nose in plain sight the whole time!!!

Here is my initial pulling of fabrics, which I sent a photo of to her for confirmation.  Yes, she liked my choices - phew!  By the way, H was thinking I was going a bit peculiar at the time and luckily for me hadn't put two and two together.
Now I needed a plan.  I toyed with Drunkards Path, circular patterns, and all sorts of things until I found this plan of squares on pinterest.  Apparently it is a plan for a crochet blanket.  I followed this plan, with my own fabric square sizes in multiples of 2.5in to get the size of quilt I wanted to make.


Here's how it started.... Lots of cutting and laying out on the floor for options.  I didn't use the white fabrics because they stood out too strongly and looked very out of place. 

Slowly, but surely the quilt grew.  I hand embroidered some sashiko pieces to add a textural and visual element to the other fabrics.  

Turns out, there was more variety in my stash and some newly purchased fabrics than I thought!

Here's the completed quilt.  Hubby was having a hard time holding it up for the photo, standing on a chair, outside in the wind.

And, lastly, some pics of the backing fabric, lovely red with gold ginko leaves and calligraphy on the centre fabric panel.  


 Finished off with fire engine red binding.

I quilted "Happy Japanese" on my domestic sewing machine with YLI threads in an all over swirl pattern to add movement to the very 'square' quit pattern.

I have kept the design idea page because this has turned out to be a true favourite quilt. 

Tuesday, 10 April 2018

Pink!

When I realised we had a family gathering at our house for Easter Sunday, and that my neice's birthday is close to that date, I couldn't help myself, I had to make a cake with pink.  Something that is very rare in my house of boys.

A pale pink, nice and subtle is what I had hoped for, nope, I poured a bit too much food colouring into this icing....


A beautifully, feather light chocolate sponge, made by me.  I am so pleased with how the actual cake turned out - it was perfect and I quite surprised myself with that one!


Decorated with wafer flowers and Persian fairy floss, my niece's eyes lit up when I showed it to her.

Gathered around the outside table, we managed to shield the cake enough to stop the wind from blowing out the candles and sing happy birthday.  There was very little cake left afterwards - it was  delicious.

Tuesday, 27 March 2018

Cake and Cross Stitch!

Mmmmmm - cake.  Chocolate Cake - just love it!

Once again I made a cake for a 50th birthday, this time the husband of a friend.  He also loves chocolate cake and breeds Bull Mastif dogs.

Finding a Bull Mastif figurine was quite difficult as they are not common like a German Shepherd, Spaniel or Labrador - however, after quite a bit of searching I found one.  A little bit stylised, but that didn't matter, he was ecstatic there was his favourite dog breed on the cake.
The recipe I used has been handed down through many generations of the family, so it won't be shared outside the family, it's a secret, but I'm always happy to make the cake for special occasions and husband of a very, very close friend was special enough. 
Unfortunately, it was an extremely hot day and the lunch was held outdoors, so the chocolate did start to melt a bit, but that did not stop guests from having second and third servings.


And... after the birthday celebration, I had a tidy up of my sewing room (to find something that is hiding), I found this little cross-stitch kit, which was mostly stitched and completely forgotten about. 
According to the packaging, I had purchased the magazine the kit came from in 2002.   I think I had put it aside because I wasn't overly keen on it; but, now that it's stitched, I like it.  
Often, I find that I have some self doubt when making things, which causes them to be stalled, then some time later, I pull it out, finish it and then wonder why I didn't persevere at the time.  Anyway, I'm going to purchase a frame for it and then I can have something pretty to display.