I started this quilt as part of a challenge in Dec 2020 with the online group 'stashbusters' to make a quilt with the tumbler shape. This also fitted in the challenge of using not only stash, but a ruler or template that you own that you have never used. In May 2020, I was gifted some templates from a friend in a birthday gift and the tumbler shape was one of them.
Also in December 2020 at the Kilmore Quilters Christmas morning/lunch, where we were lucky enough to gather in person after lockdowns, I took my roll of aboriginal fabrics (purchased on a whim in 2019 in a 50% off sale) and a large piece of Kaffe Fasset Aboriginal Dot print and got the opinions of 2 other ladies, whose thoughts I value. They confirmed my thinking of using those fabrics together to make a tumbler block to appear like a checkerboard.
Tumblers became a quilt of serendipity and all the things falling into place at the same time.
From my stash, I had 4.65m of the Kaffe Fasset aboriginal dot print in a very pale pinkish colour with lime dots and a roll of 12 x 30cm WOF aboriginal fabric pieces.
The bonus is that I was able to use stash fabrics and thread from my drawer - woo hoo - this is what I call free quilt. And.... I made sure to bust all that fabric in this particular quilt. At the time, I did the math to figure out how many shapes I can cut from each piece of fabric and approximately how big my quilt would be, which got me all fired up!
 |
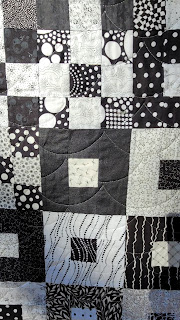
| The completed quilt top. |
From each fabric strip, I was able to cut 3 x 3.5in WOF strips and then top and tail the template to get 14 tumblers from each strip, for a total of 42 from each 30cm piece. 504 total coloured tumblers!
I found this project to be an excellent one to leave the pieces by my smaller machine as a mindless sewing project with one dark print and one light piece together, assembling the initial '2 patches'. I worked on this quilt over the next two years, completing the quilt top in November 2022 at 10-10 Sit'n'Sew day.
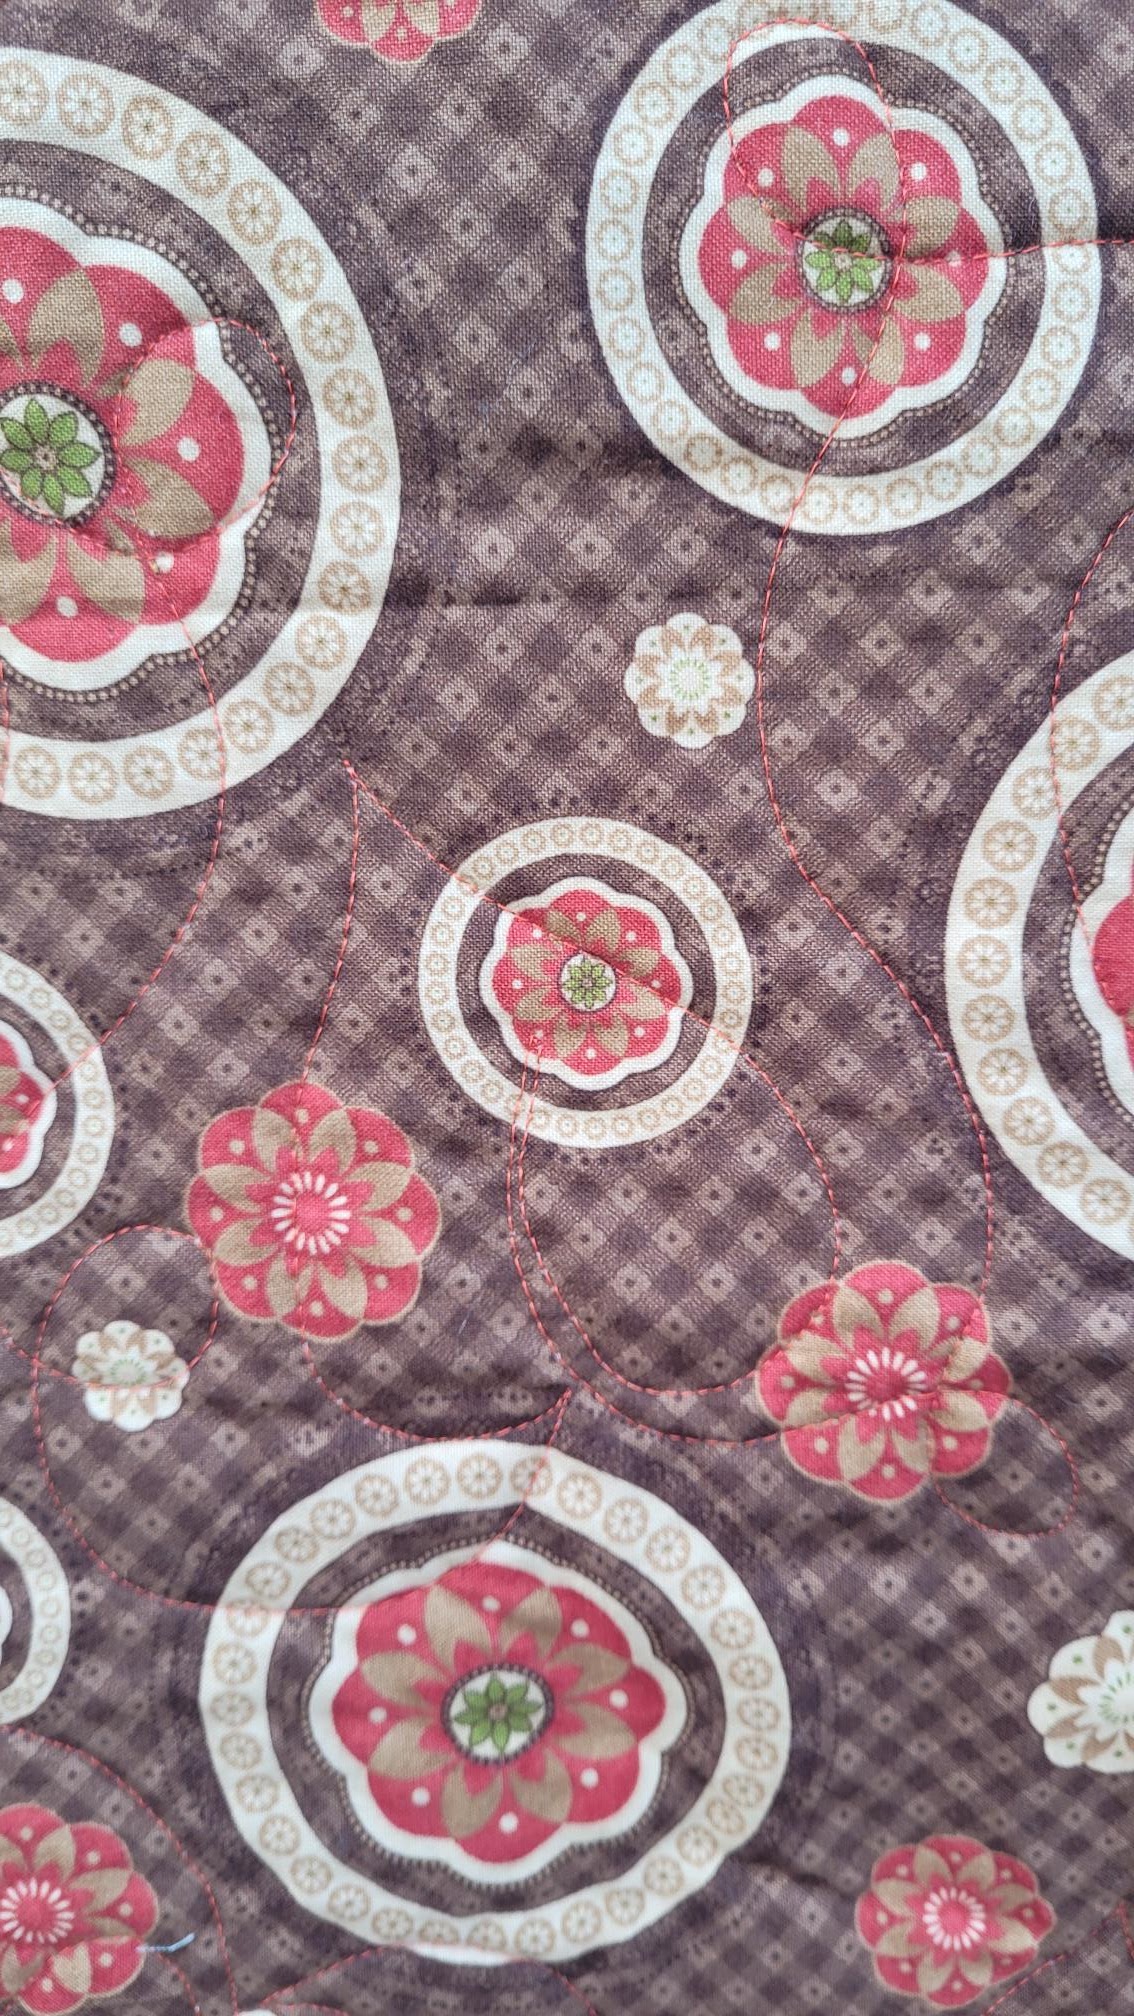
For the backing, I found this amazing Paula Nadelstern kaleidoscope print at a local quilt store, which, as you can see from the two pieced strips on it, matches perfectly. I also received approval from the girls I was shopping with to purchase this fabric for the backing. It is so much better sometimes when you have agreement for others when there is a little bit of doubt in your mind.
With careful matching of the dots on the selvedge edge, I was able to line up the prints on the fabric. Unfortunately, I had made the backing a little bit too short, so I had to add in some plain black on the top and bottom of the quilt.
A nice lime-y green fabric was the perfect binding, framing the front piecing and backing fabric nicely.
I completed Checkerboard Tumblers in June 2025 and my son took it to have for his first move out of home into a share-house with friends.
Finished size: 178cm x 239cm (70 x 94in)


.JPG)


